How to Fast Travel in Castlevania: Belmont's Curse
The two fast-travel systems, when each one unlocks, and how to use the Mirror of Life warp the game never explains.
Applies to: Fast-travel methods in Castlevania: Belmont's Curse as described by third-party guides, checked on October 16, 2026; not verified against an official KONAMI explanation
Quick answer
Belmont's Curse has two fast-travel systems and neither is explained in-game. The Ferryman's Wharf lets you jump between regions once you meet the Ferryman after the first fight with Death in the Catacombs. Separately, standing in front of an activated Mirror of Life and holding the crouch input pulls Rose into the Hall of Mirrors, where you can warp to any other Mirror you have already activated — but early on this only works within your current region. The two systems cover different jobs: the Ferryman moves you between regions, and the mirrors move you between save rooms inside a region.
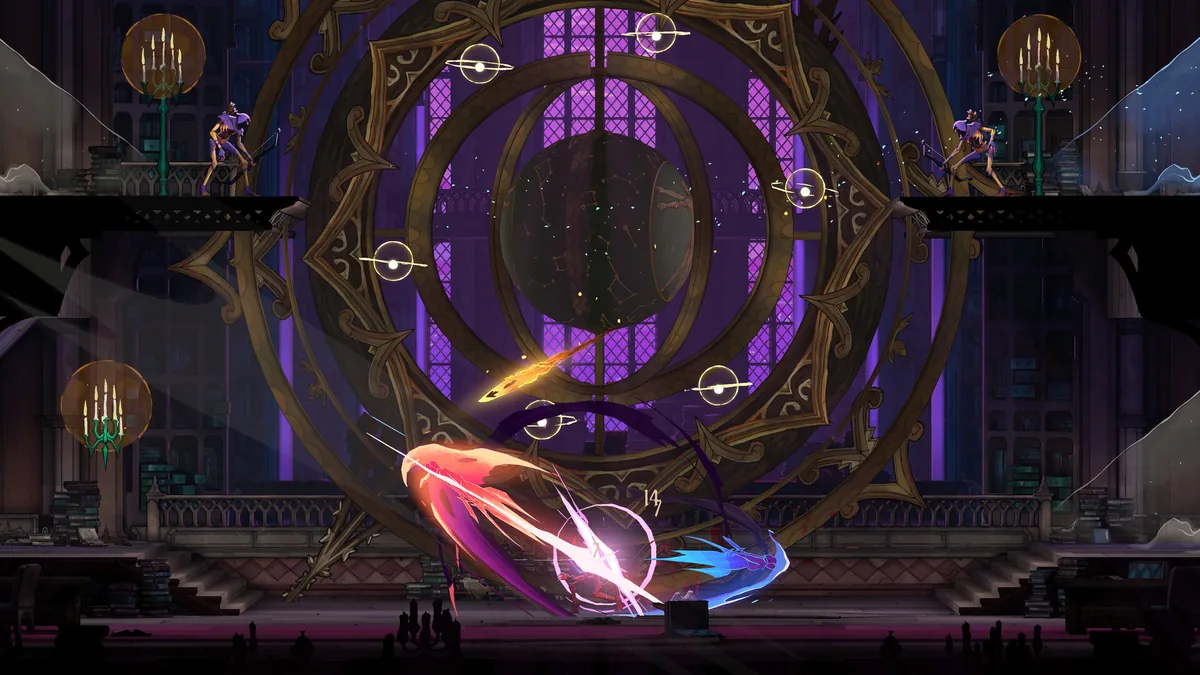
At a glance
Yes — Belmont's Curse has fast travel, and it has two separate systems. The catch is that the game never explains either one, so a lot of players finish the opening hours walking everywhere. One system moves you between whole regions; the other moves you between the save rooms inside a region.
| System | What it does | How you unlock it | How you trigger it |
|---|---|---|---|
| Ferryman's Wharf | Travel between regions you have already visited | Meet the Ferryman after the first fight with Death in the Catacombs | Interact with the altar at a blue Wharf door |
| Mirrors of Life | Travel between save rooms inside a region (later, across regions) | Activate Mirrors as you find them (you need at least two) | Stand in front of a mirror and hold crouch |
Method 1: the Ferryman
The Ferryman is a story encounter, not a hidden secret — you cannot miss him if you follow the main path. He becomes available after the first scripted fight with Death in the Catacombs of Paris, which is a fight you are meant to lose. After the scene that follows, you climb back up and reach his wharf.
- Progress until you have defeated the three early bosses around Paris and entered the Catacombs, and have met Death at the bottom.
- After the encounter, work back up the area. On the way you will pass a room with three skull pyres near the top.
- Take the right-hand exit from that room; it leads to a glowing blue door.
- Inside is the Ferryman's Wharf. Speak to the Ferryman, then interact with the altar in front of him to pick a destination.
- From then on, look for the same blue doors elsewhere — a blue lantern icon on the map marks each Wharf you have found.
Ferry travel works from a Wharf to other Wharfs you have already unlocked, so you need to reach a departure point before you can make a crossing. It is the system that solves long back-and-forth trips across regions in the middle of the game.
Method 2: Mirrors of Life
This is the one most players miss, because it is never taught. Mirrors of Life are the game's save rooms, and once you have activated at least two of them you can use them as a private warp network through the Hall of Mirrors.
- Make sure you have activated at least two Mirrors of Life by visiting and using them.
- Stand directly in front of an activated mirror.
- Hold the crouch input (do not tap it) until Rose kneels and is pulled into the mirror.
- You arrive in the Hall of Mirrors, a hub of mirrors where each storey stands for a region of the map.
- Walk up to the mirror for the save room you want and crouch again to travel there.
Two limits matter. A save room only becomes a destination after you have visited it, and early on you can only use the mirrors on your current level of the Hall, which keeps the system inside one region. Crossing between the Hall's different levels opens up later in the game.
Which one to use
| Your destination | Use |
|---|---|
| A save room you have activated, in your current region | A Mirror of Life — crouch in front of it |
| A different region you have already reached | A Ferryman's Wharf |
| A region or save room you have never visited | Neither — you have to reach it on foot the first time |
| Cross-region trip that ends at a specific save room | Ferryman first to enter the region, then a local mirror |
Common mistakes
- Tapping instead of holding. The mirror warp needs a sustained crouch; a quick tap just crouches and stands back up.
- Expecting free travel early. Both systems are gated — the Ferryman arrives at a story point, and the mirrors start out region-limited. Planning a big backtrack before either is available will waste time.
- Skipping mirrors you pass. An unvisited mirror is not a destination, so activating save rooms as you explore is what builds the network you will want later.
- Confusing the two. The blue Wharf doors and the mirrors are different objects with different jobs; a Wharf will not take you to a save room, and a mirror will not take you to another region until much later.
What is not official
KONAMI does not publish a fast-travel page for this game. Everything above describes what third-party guides consistently report, and the descriptions agree with each other on the key points (the Ferryman unlocking after the Catacombs, and the crouch-to-warp mirror mechanic). Where a detail differs between them — for example how long the crouch must be held — this page does not pick a winner. If your in-game experience does not match, the in-game controls screen and your own testing come first.
Sources and review scope
- Polygon — How to unlock fast travel in Castlevania: Belmont's Curse — the Ferryman unlocking after the third boss and the Death encounter, checked on October 16, 2026.
- Gfinity Esports — Fast Travel Guide — describes both the Ferryman's Wharf ability and the Hall of Mirrors mirror warp.
- Radio Times — How to fast travel — the Collapsed Path of Orpheus route and the blue-door Wharfs.
- NoobFeed — How to Fast Travel — notes the mirrors double as save points and the crouch requirement.
- Game Truth — Fast Travel Guide — explains the region-limited early behaviour of the Hall of Mirrors.
All five sources are third-party guide sites; none is KONAMI. They were compared for the points they share and for the points where they differ, and the shared points are what this page reports. This is a source review, not a play-test: the steps have not been verified on a live copy of the game by this site. Checked on October 16, 2026.
Checked on October 16, 2026 against KONAMI's official game site (product, character, demo and known-issues pages), the Steam store listing and the public Steam Web API endpoints for this app, and the PlayStation Store and Nintendo listings. KONAMI's own statements and store data are kept separate from third-party guides, which are labelled where they are used. Live figures such as review totals and aggregate scores are timestamped snapshots that keep moving. Anything no source states is written as unconfirmed rather than guessed.
Not independently play-tested. This is not a claim that every platform or game version was tested. Source review: Oct 16, 2026.
More Castlevania: Belmont's Curse Guides
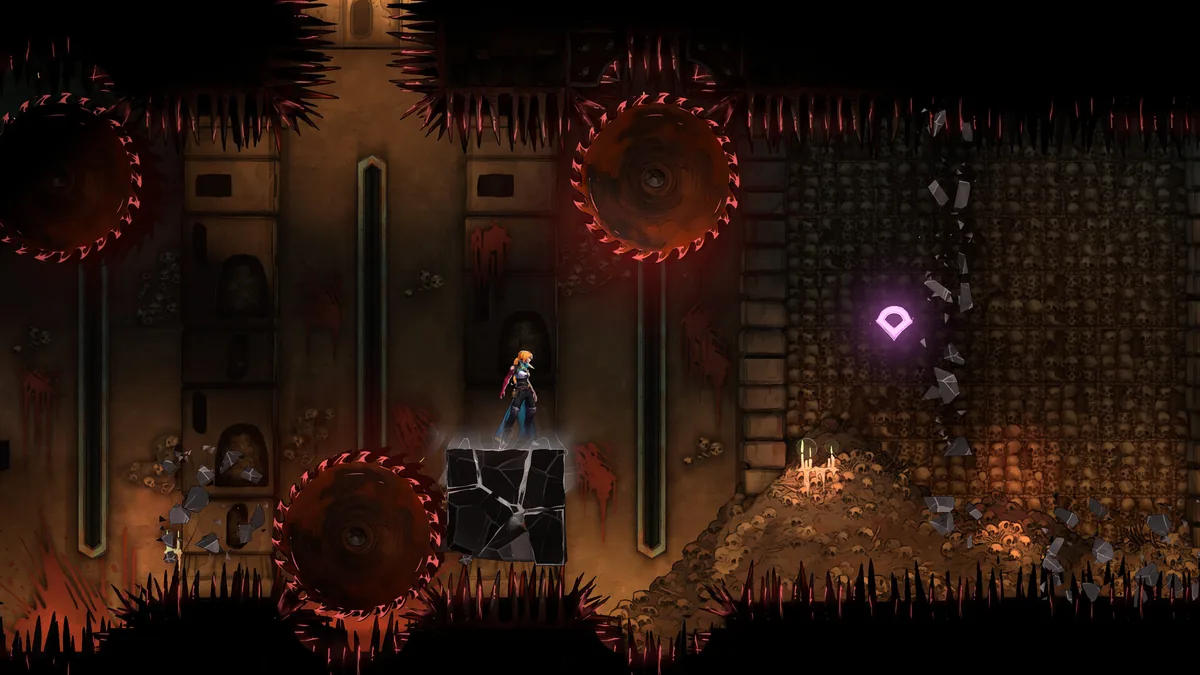 Castlevania: Belmont's Curse
 Weapons, Relics and Arcana Explained
How the three gear systems work: the whip and seven weapon families, the passive Relics, and the Arcana, Blessings and Gifts loop that bosses feed.
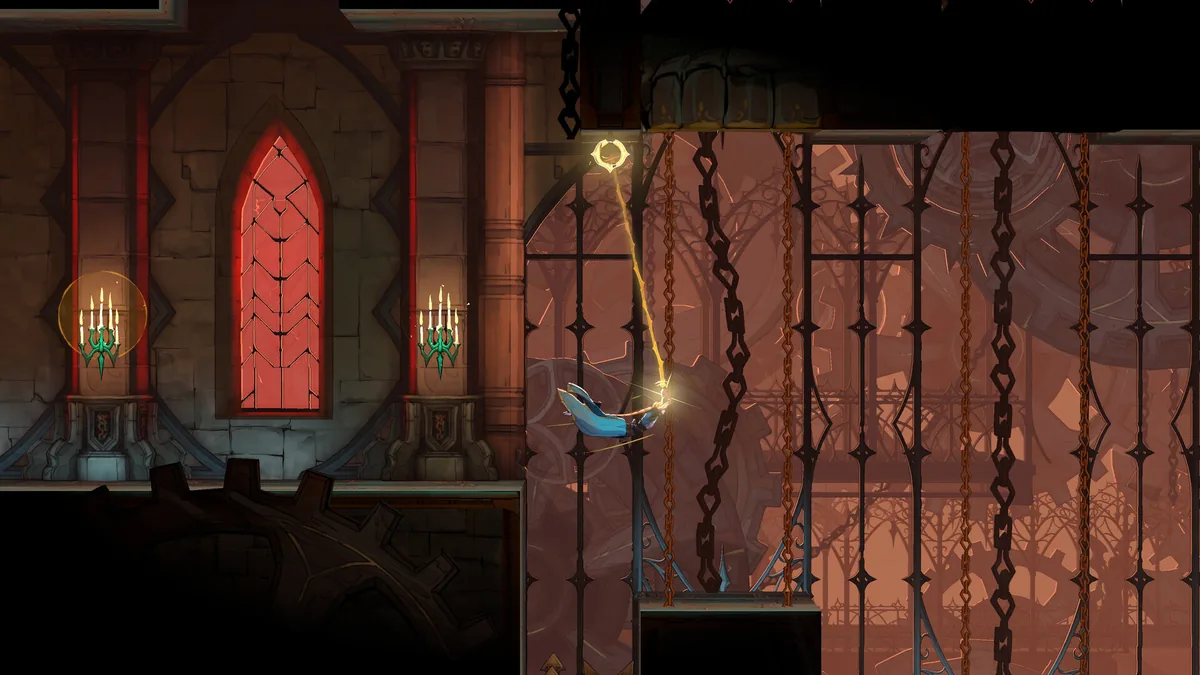 Castlevania: Belmont's Curse
What Is Castlevania: Belmont's Curse? A New Game, Not a Remake
Belmont's Curse in one page: who makes it, what kind of game it is, where it sits in the series, whether it is a remake or a roguelike, and how it relates to the Netflix show.
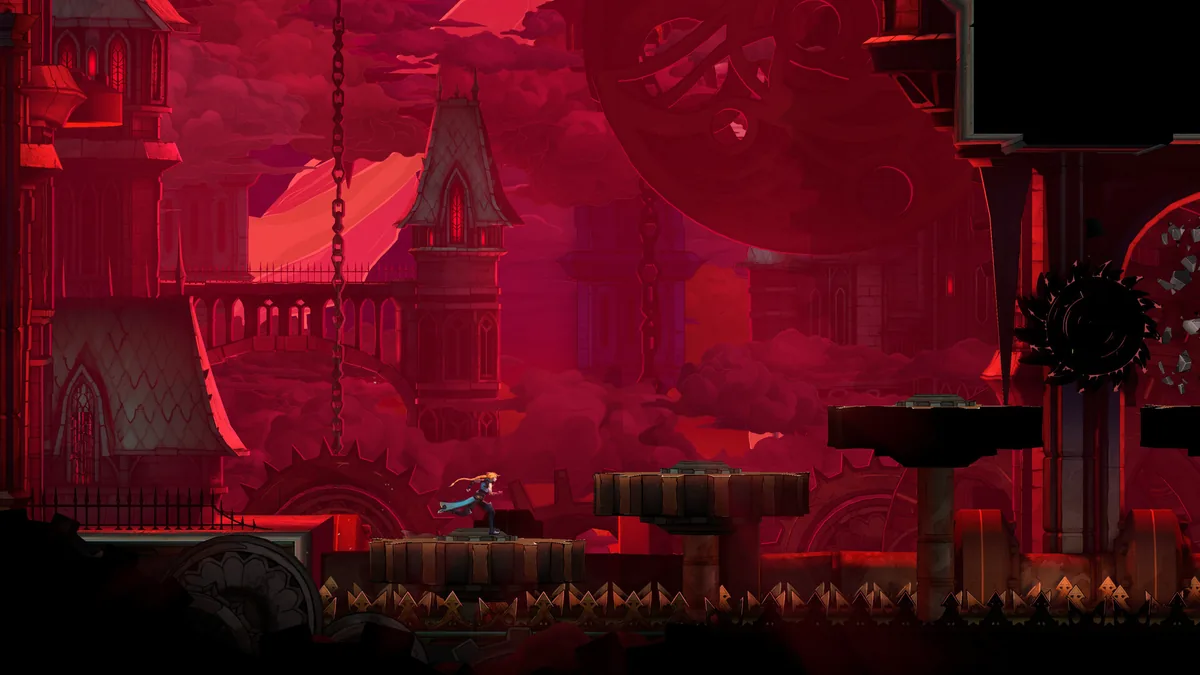 Castlevania: Belmont's Curse
 Release Date and Unlock Time
The official release date, the exact unlock time, why Steam and the Xbox store show October 14, and what is still unannounced.
 Castlevania: Belmont's Curse
 Platforms: Switch, Switch 2, PS5, Xbox and PC
Every platform, whether there is a Switch 2 version, the frame rate and storage differences, Steam Deck support and the Game Pass answer.
 Castlevania: Belmont's Curse
 Editions and Price: Standard vs Midnight
What each edition costs and contains, the pre-order costume, whether the physical release is real, and where the two editions differ.
 Castlevania: Belmont's Curse
 Demo: Platforms and Save Transfer
Where the free demo is, what part of the game it covers, and the exact rules for carrying your save into the full version.