Early Hardmode checklist: what to do after the Wall of Flesh
Smash altars, work up the Hardmode ore tiers and protect your base before the mechanical bosses arrive.
Applies to: Early Hardmode on 1.4.5
Quick answer
Hardmode starts the moment the Wall of Flesh dies for the first time, and it always drops the Pwnhammer, which is what allows you to destroy Demon Altars. Each altar you break spawns new Hardmode ore into the world: Cobalt or Palladium first, then Mythril or Orichalcum, then Adamantite or Titanium. Build a Mythril or Orichalcum Anvil before you attempt the mechanical bosses.
The trigger
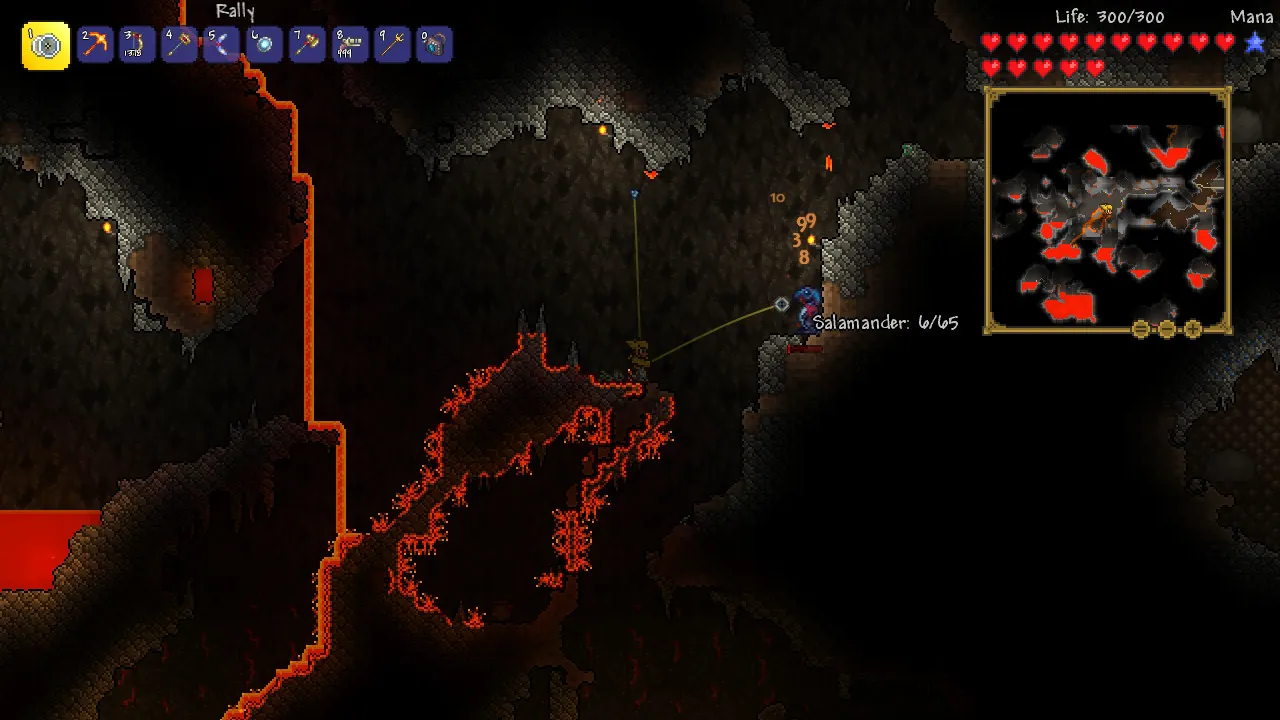
Hardmode begins the instant the Wall of Flesh dies for the first time. There is no confirmation step and no way back — reverting a world requires a third-party map editor, and restoring the terrain afterwards is effectively a rebuild.
Three things happen at once:
- Hardmode enemies begin spawning immediately.
- Two diagonal stripes generate through the world, one converting terrain to Hallow and one to your evil biome, running from the surface to the Underworld.
- The world’s corruption begins spreading much faster than before.
On a large world the stripe generation takes a moment, and the game holds you until it finishes. If you exited before the “ancient spirits” message appeared, the world finishes generating the next time you load it.
Smashing altars
The Wall of Flesh always drops the Pwnhammer. That is not a trophy — it is the tool that lets you break Demon Altars, and breaking altars is what seeds Hardmode ore into your world.
- A normal hammer will not do it. You need the Pwnhammer or better.
- Each altar you smash injects a batch of Hardmode ore somewhere in the world.
- Altars can also be found in the world as normal, and once Hardmode starts their usual crafting and summoning functions still apply.
The ore ladder
Altar breaks are sequential. The first break gives you the lowest new tier, and the later tiers only appear once you have worked through the ones before.
| Altar break | Ore tier spawned | Tool needed to mine it |
|---|---|---|
| 1st | Cobalt or Palladium | At least a Molten Pickaxe |
| 2nd | Mythril or Orichalcum | Cobalt or Palladium drill or pickaxe |
| 3rd | Adamantite or Titanium | The tier above Mythril or Orichalcum |
Your world rolls one of each pair, not both — a world with Palladium will not also have Cobalt. On top of the ore tiers sit two materials that come from elsewhere rather than from altars: Hallowed Bars from the mechanical bosses, and Chlorophyte Ore, which grows in the Jungle in Hardmode.
One side effect to know about: once at least one altar has been smashed, the Pirate Invasion can trigger randomly at the start of a day. If you break altars early and unprepared, expect an invasion you did not ask for.
First Hardmode gear
The immediate goal is not armour. It is the anvil, because everything else waits on it.
- Mine the first tier with your Molten Pickaxe and smelt it into bars.
- Make the first-tier drill or pickaxe, which is what unlocks the second ore tier.
- Build a Mythril or Orichalcum Anvil — 10 Mythril Bars or 12 Orichalcum Bars. Many higher-tier Hardmode items require it.
- Only then craft armour. Picking armour before the anvil means you will rebuild it a tier later anyway.
Hellstone and Meteorite can also be destroyed with explosives in Hardmode, which matters if your Hellstone source sits under terrain you have already built over.
Protecting your base
Hardmode does two things to a base at once: it accelerates biome spread, and it fills the map with enemies that did not exist before.
- Check your boundaries. Since the evil biomes now spread toward your housing, and NPCs will leave if their homes end up in Corruption or Crimson, the containment measures on the biome spread page are now urgent rather than theoretical.
- Expect new spawns. Hardmode enemies are worth fighting for drops, but they also mean travelling at night is a different calculation than it was.
- Re-check the Dryad’s corruption reading. She reports the world’s corruption as a percentage, which tells you whether the situation is stable or getting away from you.
Worth knowing before you spend effort: the first Plantera kill halves the spread rate permanently. If containment feels hopeless, pushing to Plantera is a real answer rather than a detour.
Before the mechanical bosses
The three mechanical bosses — the Twins, the Destroyer and Skeletron Prime — are the gate to everything after Plantera, and they are usually the first genuine wall in Hardmode.
Have these in place first:
- Second-tier or better armour, built on the anvil you just made.
- A proper arena rather than an open field, with room to move and platforms to drop through.
- Flask and potion supply you are willing to spend, not save “for later”.
Each of the three drops a piece of Hallowed Bar-tier material, and all three must die before Plantera’s bulb will spawn. The boss order page covers what comes after.
Sources and review scope
- Official Terraria wiki — Hardmode — used for the trigger, the conversion stripes, the Pwnhammer, the ore tiers and their tool requirements, the anvil costs, the Pirate Invasion condition and Hardmode enemy spawning.
- Official Terraria wiki — Bosses — used for the mechanical boss sequence and the Plantera gate.
- Official Terraria wiki — Corruption — used for the Plantera spread reduction.
The wiki is community-maintained rather than an official Re-Logic publication. Ore pairings are described as alternatives because each world rolls one of each pair; the exact altar-break cycle can be affected by how many altars your world generated, so treat the sequence as the intended order rather than a fixed count.
Checked against linked Re-Logic announcements, the official Terraria wiki and store listings on October 12, 2026. Dynamic details should be rechecked before publication.
Not independently play-tested. This is not a claim that every platform or game version was tested. Source review: Oct 12, 2026.
More Terraria Guides
 Terraria
 beginner progression: what to do first
A stage-by-stage route from spawning to the Wall of Flesh, with the gear milestones that unlock each step.
 Terraria
 class setups: melee, ranged, mage and summoner compared
Compare the four damage classes, what each one needs to work, and the verified early-game gear for each.
 Terraria
 boss order and how to summon each boss
The accepted boss progression order with summon items or conditions, and which bosses are optional.
 Terraria
 version status: current releases and the next update
See the current version on every platform, what 1.4.5 changed, and where the crossplay update officially stands.
 Terraria
 crossplay: what works now and what is coming
Check which platforms can play together today, how joining works, and the official two-phase crossplay plan.
 Terraria
 price and where to buy it in 2026
Compare the official price on each platform, confirm there is no free version, and avoid unverified APK downloads.